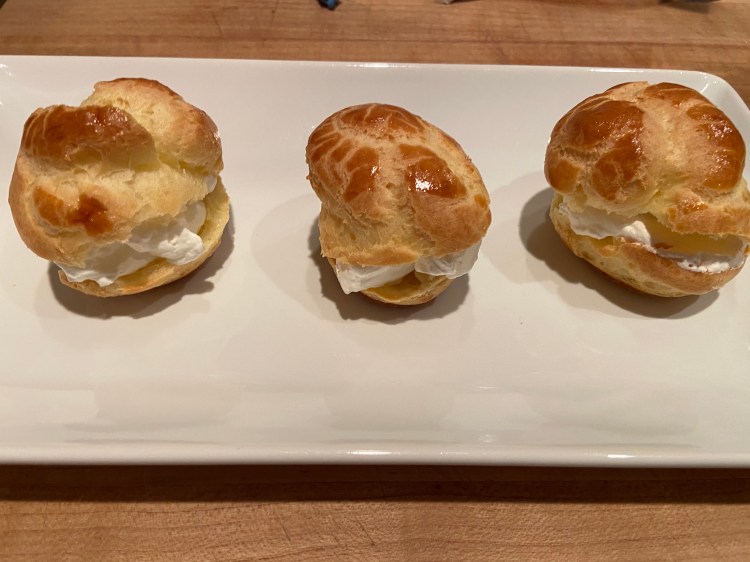
This is not the first and definitely not the last time I manipulate a choux batter to create some cream puffs. These OG Cream Puffs received its namesake “The Obviously Gratifying Cream Puffs” because, well duh, these cream puffs are ridiculously delicious and hit that sweet spot every single time. Light, airy pastry shells encasing pillowy clouds of sweetened whipped cream, what’s not to love? They’re the kind of dessert that makes people think you’re some sort of kitchen wizard, when in reality, it’s just good science and a bit of patience. You can read about my first attempts at choux and the ensuing, puff-less mess by clicking the link, Choux Pastries; do it, I dare you, test your patience. Consider it kitchen schadenfreude.
The first round of choux didn’t turn out what I had mind, but really, who actually succeeds the first time they do anything (besides those pesky people with beginners luck, of which I am not). My initial puffs were more like sad pancakes—flat, deflated little discs that bore little resemblance to the glorious, golden domes I’d envisioned. But failure is just the universe’s way of telling you to try again with better instructions.
The following recipe is inspired and adapted from Sally’s Baking Addiction’s Cream Puff recipe (I am not affiliated with this website, brand, or recipe). After extensive testing (and tasting, because someone had to do it), I’ve made a few tweaks that I think elevate these puffs from merely good to Obviously Gratifying.
I finally received my long-awaited reusable, silicone Piping Bags (I am not affiliated with this product, brand, or organization). The piping bags are beautifully blue, durable, and pleasantly easy to clean. Every time I fill the bags with some delicious pliable solid, I congratulate myself for taking another measure, albeit small, to saving the planet. No more single-use plastic bags going into the landfill after a single baking session. The turtles thank me, and my conscience is just a little bit clearer.
For piping tips, I recommend using a round tip about 1/2 inch in diameter. Too small, and your puffs might not expand properly; too large, and they’ll spread too much. It’s a Goldilocks situation, you want it just right.
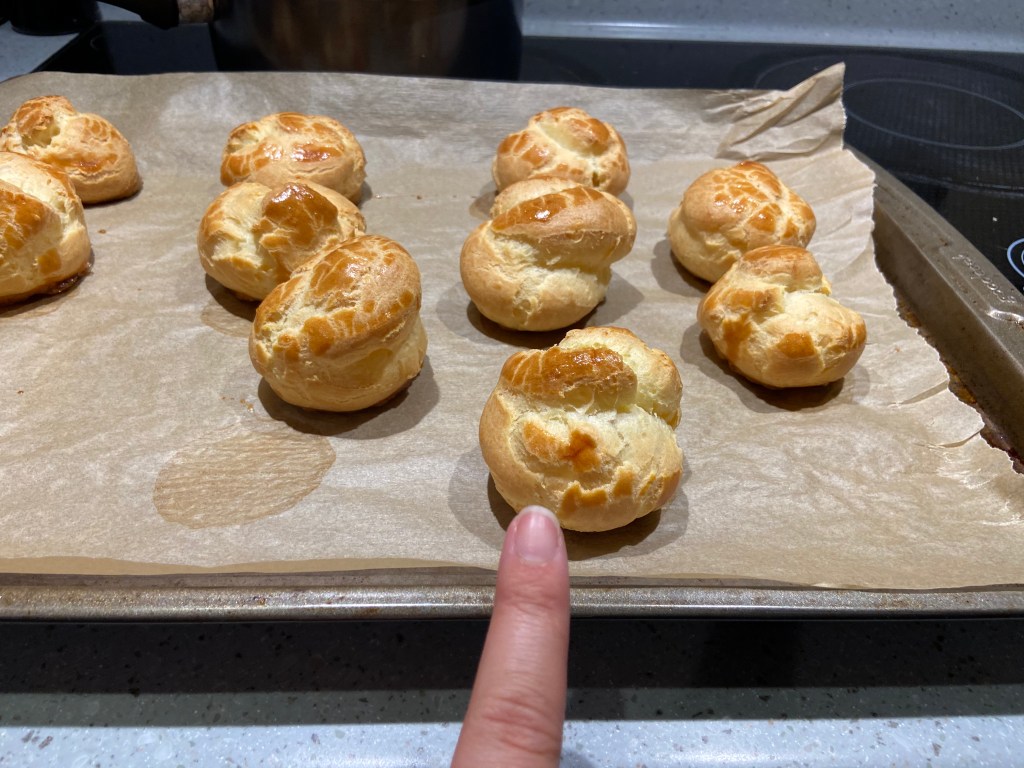
Finger for Scale 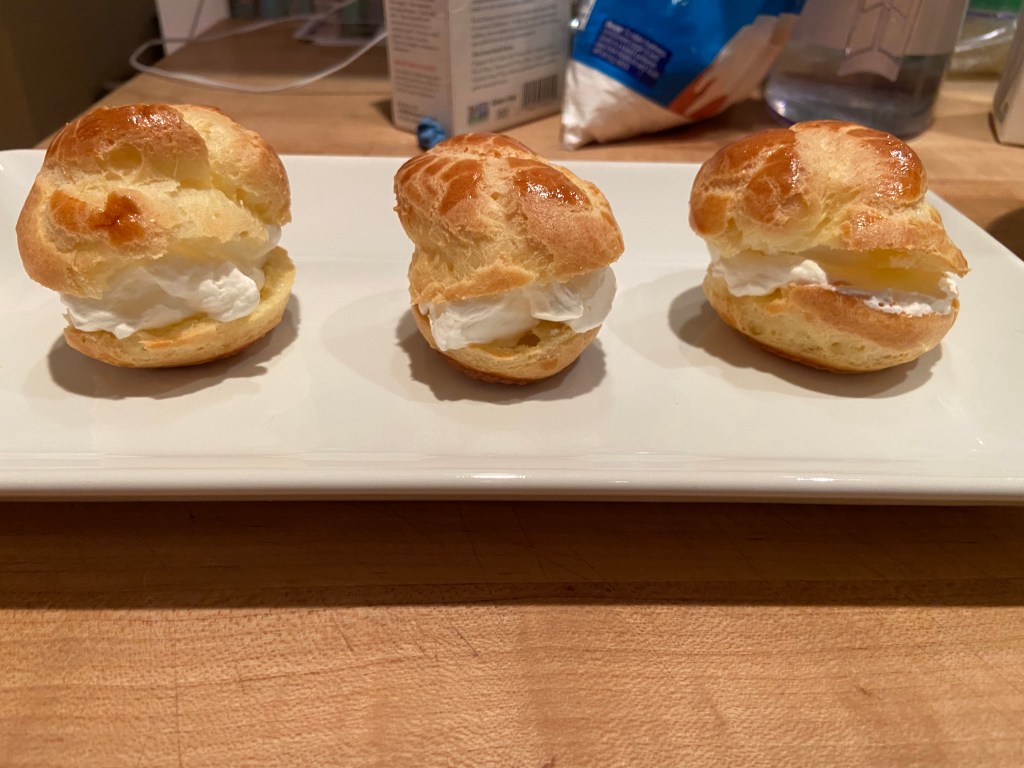
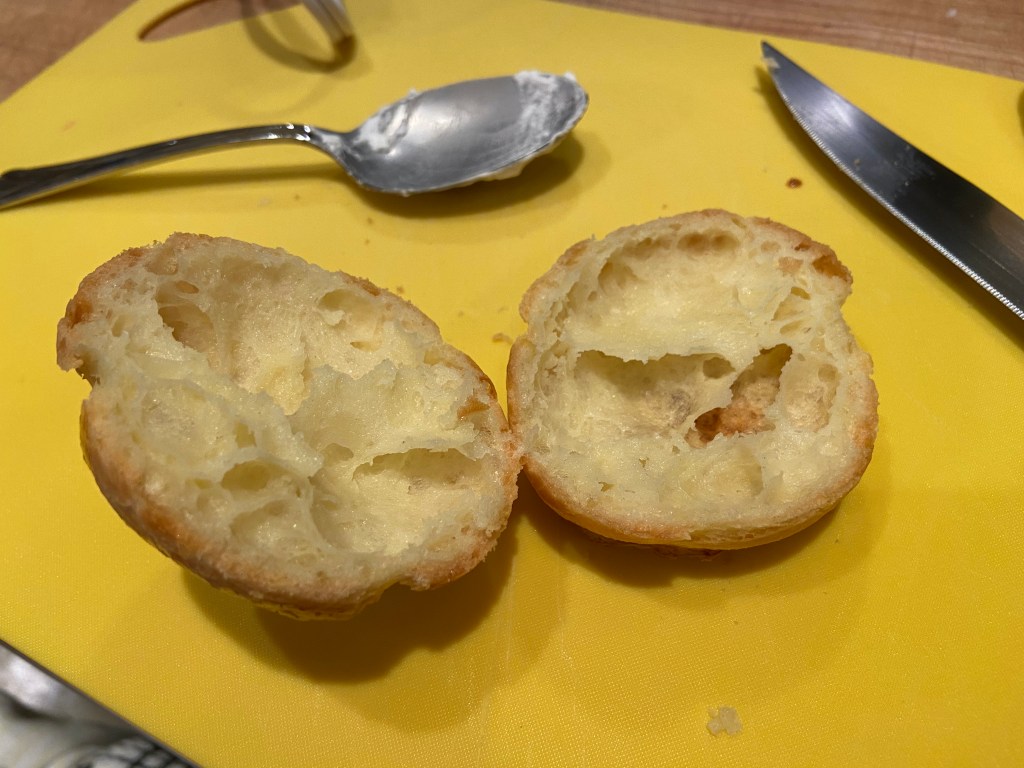
Look at that hollow little baby 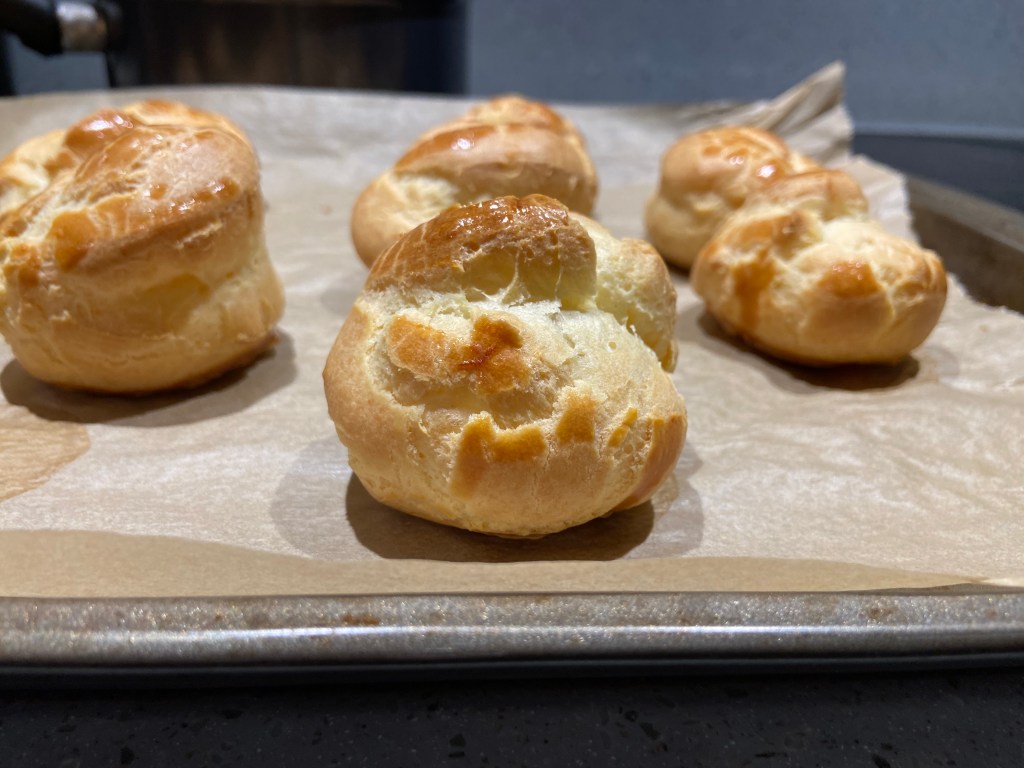
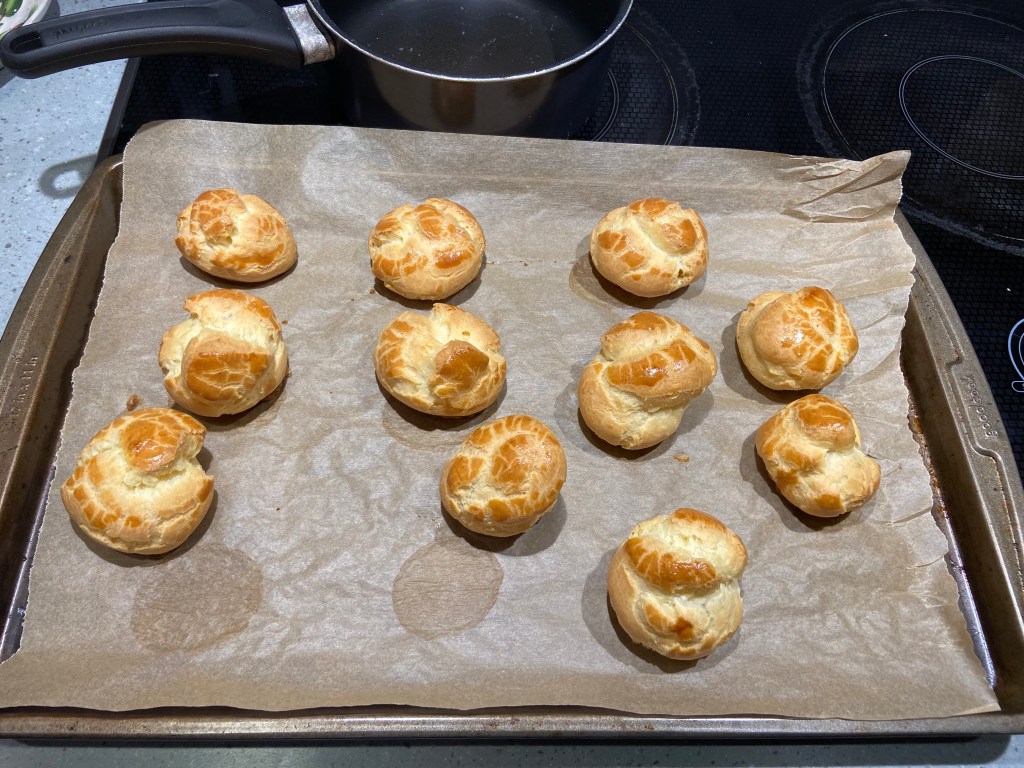
This recipe and batch yielded a baker’s dozen. I didn’t achieve a universal and consistent size of said puffs, maybe if I measured them out by weight or followed some kind of guided stencil they could have been more uniform [shrug] you just can’t do everything. Sometimes imperfection adds character, at least that’s what I tell myself when my puffs comes out all wonky.
I preheated the oven to 400°F and grabbed my well-used and very loved baking sheet. I lined the baking sheet with my silicone baking mat (huh, I seem to appreciate the use of silicone in my baking adventures). Save the planet, bébé. Plus, nothing sticks to silicone, which means less waste and easier cleanup. Win-win.
In a medium sauce pan, I melted the butter, warmed the milk & water, and dissolved the sugar & salt. On medium-low, I let the elements simmer and incorporate slowly. Methodically and mindlessly whisking the liquid mixture, I allowed the elements to meld into a harmonious concoction. There’s something almost meditative about this step, watching the butter melt into the liquid, creating a shimmery, aromatic base for your pastry. Once fully assimilated, I poured in the allotted flour, lowered the stove temperature to low and began to stir the gloopy flour mixture.
This is where the magic begins, when the flour hits the hot liquid, it immediately starts to absorb moisture and swell. Keep stirring vigorously to prevent lumps from forming. The mixture will quickly transform from a loose, liquid state to a thick, paste-like consistency that pulls away from the sides of the pan. I moved the sauce pan on and off the heat, continuously stirring, beating, and smearing the flour mixture into the sides of the sauce pan to slowly heat and cook the choux batter, methodically decimating those chunks and bubbles of flour lingering in the pubescent dough. This step is crucial, you’re developing gluten and gelatinizing the starches in the flour, which will give your puffs their structure and allow them to rise properly in the oven.
Once properly “cooked” on the stovetop and before you burn your flour, plop the semi-metamorphosized batter into a bowl. You’re not done yet. The dough needs to cool slightly, around 5 minutes should do it. Too hot, and you’ll scramble the eggs; too cool, and they won’t incorporate properly. Once the batter has proper time to cool that it won’t entirely cook your eggs but also not too cold that it’s hard, stiff, and difficult to incorporate another ingredient into, it’s time for the eggs. This is where many choux pastry novices falter. Add the eggs one at a time, beating thoroughly after each addition. The dough will break apart and look absolutely hopeless with each egg, but keep faith and keep beating. Eventually, it will come back together into a glossy, pipeable consistency.
The final dough should be thick enough to hold its shape when piped but fluid enough to pipe smoothly. If you dip your finger in and pull up, the batter should form a soft peak that ever so slightly bends at the top. If it’s too stiff, you can beat in a little more egg. If it’s too runny (unlikely, but possible), there’s not much you can do except hope for the best and learn for next time. You’ll know you’re done stirring and adding eggs when you complete the “V” test, which is basically sticking your spoon or spatula I the dough and when you hold the spoon/spatula above the dough, it falls in a “V”.
Transfer your choux batter to your eco-friendly piping bag fitted with that round tip. Pipe mounds about 1.5 inches in diameter onto your prepared baking sheet, leaving about 2 inches between each one. These babies are going to expand, so give them room to grow. If you find little peaks forming on your piped mounds, wet your finger and gently smooth them down. Those peaks can burn before the rest of the puff is done.
Into the preheated oven they go, and here’s a pro tip: once they’re in, don’t open that oven door. The high heat creates steam within the batter, causing the puffs to rise, and a rush of cool air can cause them to collapse faster than my motivation to finish projects after I start them.
Once pulled from the oven because they’ve reached their optimal puffiness and doneness, you need to promptly puncture the side or bottom of your choux pastry with a toothpick, a tine of a fork, the tip of your knife, whatever is sharp and skinny enough to create a small pinprick in your pastry. This allows the hot air to escape and prevents deflation.
For the whipped cream filling, chill your bowl and beaters before you start, cold equipment means faster whipping and better volume. Beat your cream until soft peaks form, add powdered sugar to taste (I like mine just barely sweet), and a splash of vanilla extract or sometimes I’m feeling maple syrup. Keep beating until firm peaks form, but be careful not to overdo it, or you’ll end up with sweet butter instead of whipped cream.
As I do not own or even have a suitable substitute for one of those kitchen injector, syringe thingy, I just cut the choux in half, plop some whipped cream in the hollow cavity (you want your puffs to be cavernous and hollow in the middle), and sandwiched them back together. Sometimes the simplest methods are the best.
The beauty of cream puffs is their versatility. Once you’ve mastered the basic recipe, the world is your oyster (though I don’t recommend oyster-flavored cream puffs, but you do you). Or add in some other adjunct ingredient to your batter, cream, or whipped cream that makes it your own. Fold some nutella into your whipped cream. Add a layer of lemon curd before the cream. Drizzle with chocolate ganache or dust with powdered sugar. The possibilities are as endless as your imagination and appetite.
Edible Elements
- Flour – 1/2 cup (all-purpose, save your fancy flours for another project)
- Butter – 1/4 cup or more (unsalted, room temperature
- Sugar – a little less than 1 teaspoon (just enough to enhance, not overwhelm)
- Salt – sprinkle of salt
- Eggs – about two, a little less
- Water – 1/4 cup
- Milk/Half & Half – 1/4 cup
- Whipping Cream or Heavy Whipping Cream (the higher the fat content, the more stable your whipped cream)
- Powdered Sugar
- Optional: Vanilla Extract or Vanilla Bean; or any extract you feel like dribbling into your whipped cream. Add some chunky chocolate chips or some cinnamon, cardamon, and nutmeg to spice your life up. Do what makes you happy!
Remember, baking is part science, part art, and part magic. These Obviously Gratifying Cream Puffs might take a try or two to perfect, but when you bite into that crisp shell giving way to pillowy cream, you’ll know it was worth every moment. Happy baking, and may your puffs always rise to the occasion!
Citations
Sally. “Choux Pastry (Pâte à Choux),” Sally’s Baking Addiction, September 3, 2018. March 21, 2021. https://sallysbakingaddiction.com/choux-pastry/

Leave a comment